
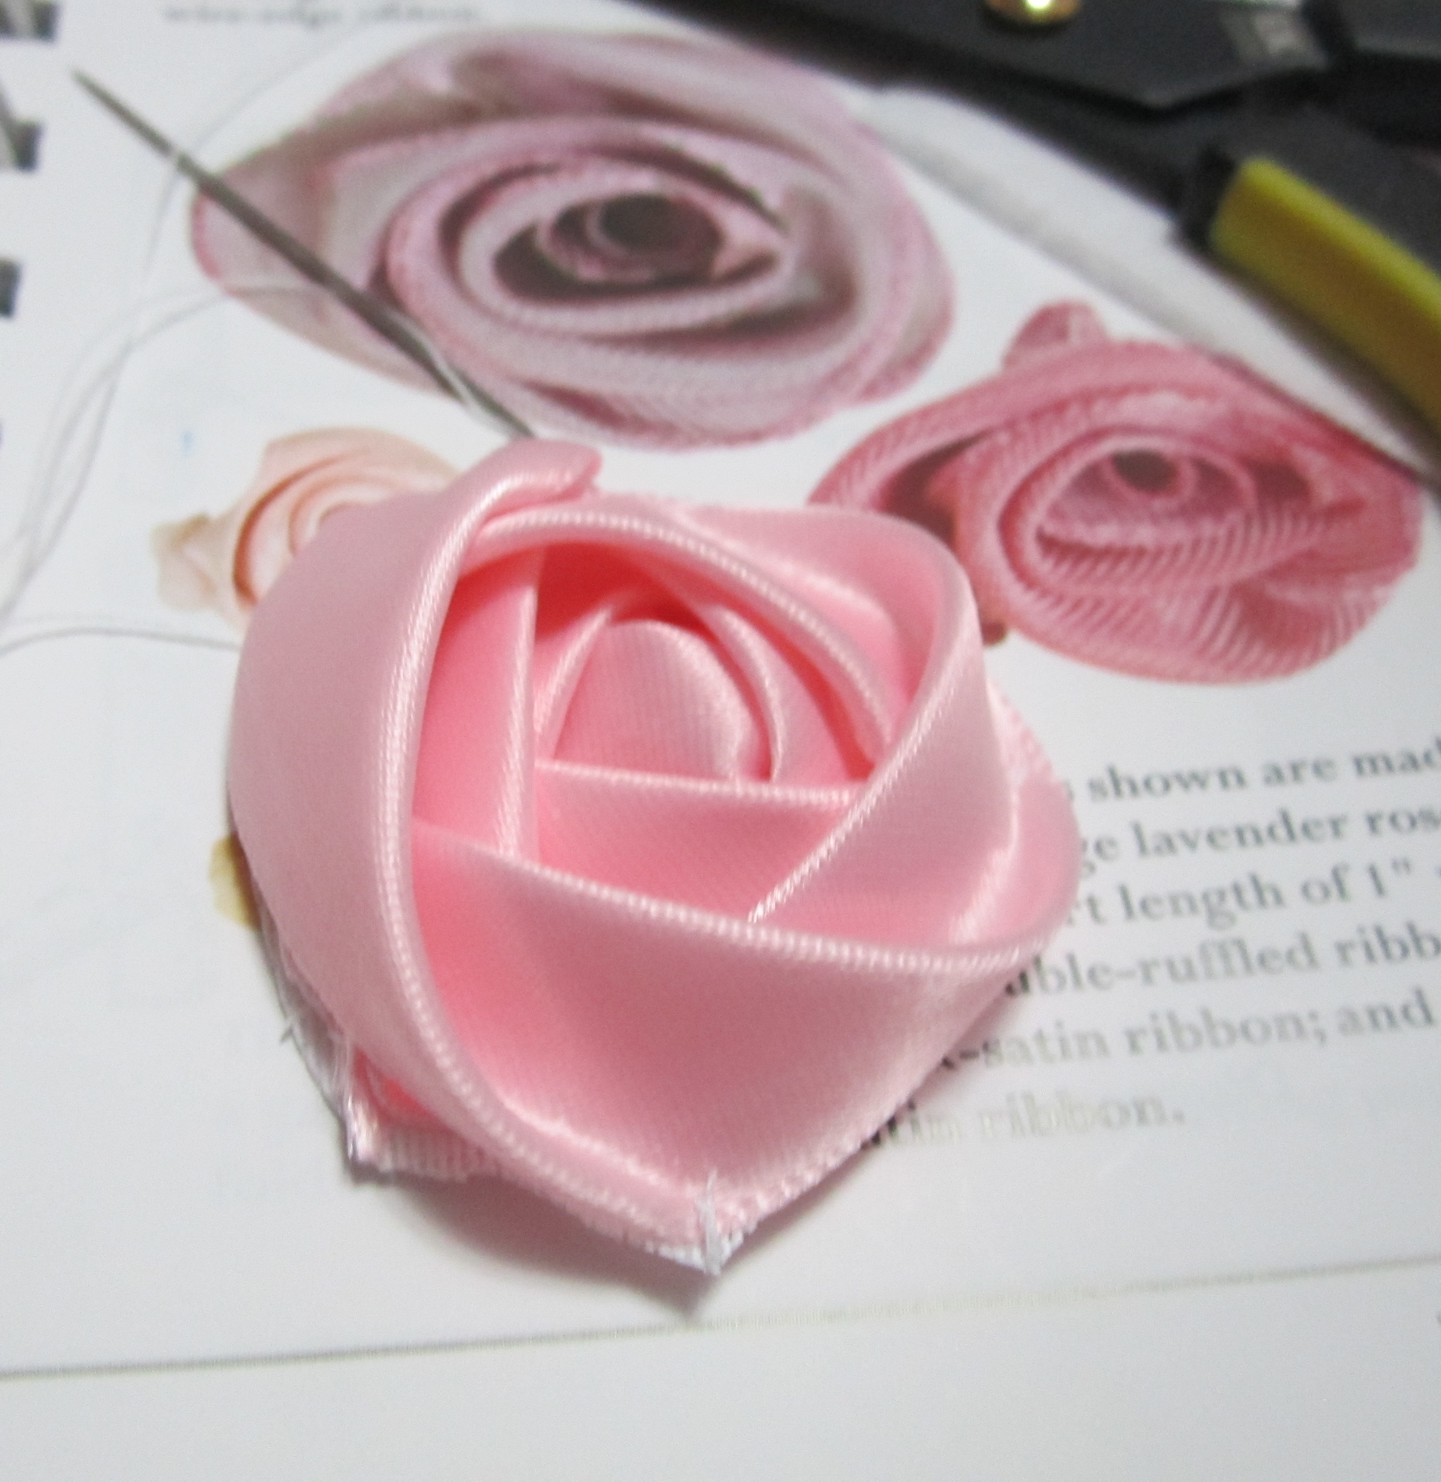
Flat ribbon rose.
When I started making ribbon flowers a few days ago I wanted them to decorate a black jacket. But the flowers I picked were to large and dimensional to decorate the jacket. So I started looking for flowers that would work and found the flat ribbon rose. It is quite lovely and flat and can be made as large as desired. So today I made one and took pictures so I could share on this blog. I used a nearly 1 inch wide polyester satin ribbon.

Ribbon with crinoline.
All you need to make a flat ribbon rose is ribbon, crinoline, and a sharp strong needle like a milliners.
To start cut a piece of thread about 12 inches and make a knot. Using the whole length of ribbon tie a knot at the end. Don't tighten it to much, it needs to be bulky because it becomes the flower center.

Knotted ribbon.
Sew the ribbon to the center of the piece of crinoline.

Fold the ribbon at an angle across the knot. Then stitch the ribbon to the crinoline with small stitches. Fold under the ribbon edge toward the middle of the flower. The stitch down both edges of the ribbon with a couple of small stitches. Always stitch the ribbon where the stitches won't show. Or where the next folds will cover the stitches. Keep folding and stitching until the rose looks the right size to you.


When the rose is the right size cut the ribbon and the fold the ribbon edge under and stitch the end. The last step is to fold under the beginning ribbon edge and secure it to the crinolin. Now that it is done carefully cut the rose from the crinolin paying attension to both the front and the back so the thread and the ribbon don't get cut. I hope that someone will try and make these roses. They would make a wonderful decoration for a wedding gift!
lovely thanks a lot!
ReplyDeleteThank you! I am very glad to be able to help. There are other tutorials on ribbonwork here to look at that might interest you.
ReplyDeleteAwesome thank so so so much for sharing this ..
ReplyDeleteOver the top delighted to find this Tutorial
Happy Smiles
AnnA
awesome. i love it :)
ReplyDeleteTHANK YOU SO VERY MUCH FOR THESE DIRECTIONS!!! YOU'VE MADE MY DAY!!!!!!!!!!!!!!!!!!!!!!!!!!!!!!!!!!!!!!!!!!!!!!!!!!!!!!!!!!!!!!!!!!!!!!!!!!
ReplyDeleteI really appreciate your taking the time to post and let me know that these instructions helped you. We are currently indexing the site. There are a number of ribbon work tutorials here that may be helpful. Happy crafting!
ReplyDeleteThanks so much for this great tutorial!! I have been seeing the almost "looped" roses but didn't think I could ever figure out how to make them. Now I do, and will be making them like crazy today! (almost... 'mad'? lol)
ReplyDeleteYou are welcome! Thank you for taking the time to post it made my day!
ReplyDeleteThankyou so much for this! Ive been searching for silk roses that are flat enough to use in my wedding boquet.
ReplyDeleteI hope you have a lovely wedding and a loving marriage.
ReplyDelete