

A Dorcet Crosswheel Button.
Why make buttons? They are so easy to buy and usually not that expensive. I find button making an easy and inexpensive hobby. It is a great way to match the colors and design of a garment and for quiet days it is an easy project to make in an hour.
To make a Dorcet Crosswheel button you will need:
1 small sharp needle
1 small blunt needle
4 to 5 yards of size 12 perle cotton
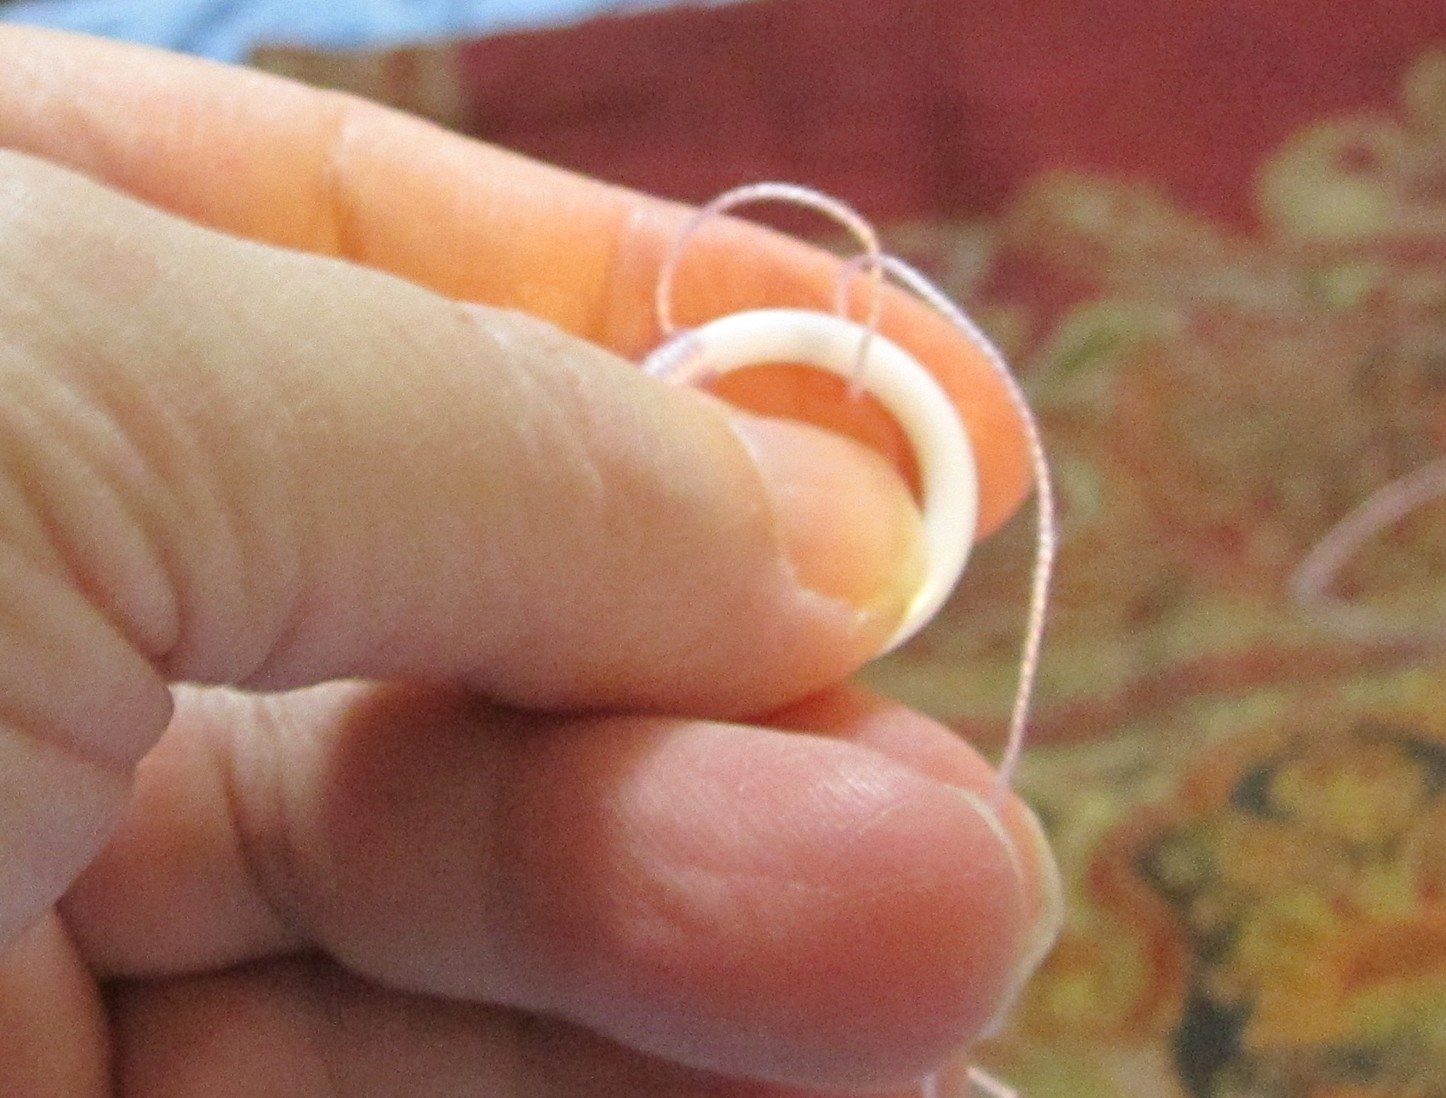
3/4 inch plastic curtain ring
The best way to start a button is to wrap the thread a couple times around the ring. If you make knots they can show on the button, so do whatever is comfortable. Then holding the thread in place using a blunt needle make a button hole or blanket stitch around the ring.
Beginning a ring with button hole stitch.

Another angle of buttonhole stitch.
Use as long a thread as you feel comfortable sewing. I used 4 yards and after a few stitches got a horrible knot and had to cut the thread. Below is showing how to add a thread. On the backside changing to a sharp needle run the needle under the button hole stitches and pull through leaving about 3 inches of thread on the end. Next while making the button hole stitch make sure it captures the old thread. After a few stitches cut off the end. Keep stitching until the ring is almost covered. You may want to change back to a blunt needle to save a few finger stabs.

Oops had to cut off a knot and start again by securing the working thread.

Another angle of button hole stitch.

Half way around the ring.

Nearing the end of covering the ring.
Now that you are close to the beginning of the stitches make sure to capture the starting thread. Just sew over the starting thread and ring at the same time. Cut any starting thread left over. Once the ring is covered it is time to start decorating! But first take a moment to make sure the rim of the button hole stitch is not twisted. Below you can see that my stitches are twisted on the right side of the ring.

Finished thread covered ring.
Now that you are starting the next phase of the button you may want to end off the sewing thread if you don't have 3 feet or more. It is easier here to start a new thread. If you decide to start a new thread run the sharp needle under a few stitches, on the button back, pull through and then cut the thread. Then with a new thread run it under a few stitches on the back. You may want to change back to a blunt needle after securing the threads. The next step is to wrap the thread around like spokes on a bicycle wheel. You can make as many spokes as you want but six wraps is a good start. From the top of the button wrap across the button to the bottom. Thinking of a clock is helpful. Then from 12 o'clock wrap across to 6 o'clock. Then up to 1 o'clock and down to 7 o'clock. Working the spokes around the ring. While doing this it looks messy. Just try your best! It will be adjusted with the next step.

Starting the wrap.

The wrap.

Even more wraps.

It looks an absolute mess but don't worry!
The next bit is to work a cross stitch to help center the spokes. With the front of the button facing you look at the threads and try to go up or down through the spokes. Then across the center and pull the thread. Next make another stitch across the center finishing the cross and tighten. Don't worry if one of the spokes does not have a partner it will be fine. Take as many stitches to tighten the center as you need. You can move the spokes at this point to even them out. I use the tip of the needle to lift and move the spokes. But while weaving the button you will still have the ability to make small adjustments.

Tightened center.
Now the fun really begins! Stitch up through the button between two spokes. I work counter clockwise but you can reverse the instructions to be comfortable for you. Stitch down the left side of the spoke. Stitch up again on the left side of the next spoke. Stitch down the right side of the same spoke. Then up again on the left side of the next spoke to the left and down on the right of the same spoke. Continue this around the center of the button. Keep the thread tight but be careful of tightening unevenly and moving the spokes off center.

Starting the weaving.

The design after a few rounds.

Back of button.

Running thread with a sharp needle under the button after finishing the weaving.
Finished button.
The buttons are really simple to make and I hope some one reading this may give it a try. I have been writing and rewriting this so please excuse any typos. I will review this later today for errors. If you would like to buy or borrow a book I suggest "50 Heirloom Buttons to Make" by Nancy Nehring. She explains the history along with how to make 50 buttons. Very cool book!
No comments:
Post a Comment